This guide shows the step by step process to create a mould for slip casting with ceramics. For this tutorial I used a glass bottle. The advantage of this bottle is that is has been assembled with a similar mould so that makes it easy for this tutorial.
To star off I used a clean piece of wood to work on that had a nice big area around the bottle to create the mould.

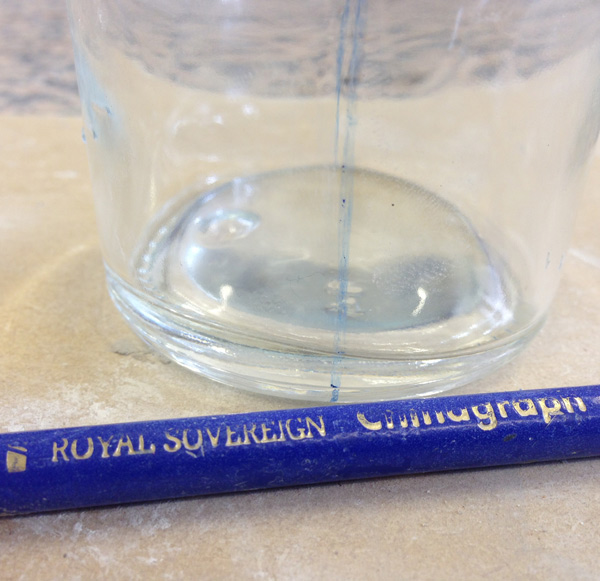
I started indicating the cut line that will separate the different parts of the mould. In this case there are three parts: the two halves of the bottle and a separate piece for the bottom. To draw on glass or similar materials you can use a Chinagraph pencil. The advantage is that it’s easy to get it off afterwards.
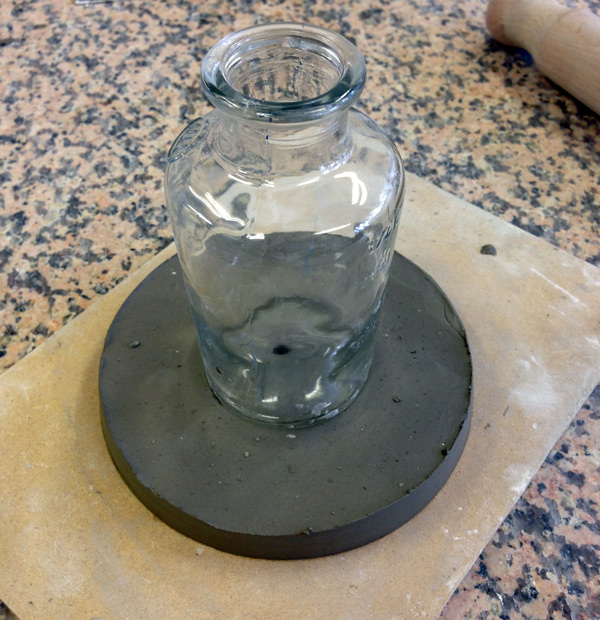
I created a base of clay by flattening it with a roller until it’s perfectly straight. After that I cut a perfect circle with approximately 3cm space around the widest part of the bottle to allow enough space around the bottle to create a nice and sturdy mould.
The bottle is then placed exactly in the middle of the clay base.
Then you draw two lines extending from the blue indicated break lines. These indication lines come in handy at the end of the process.

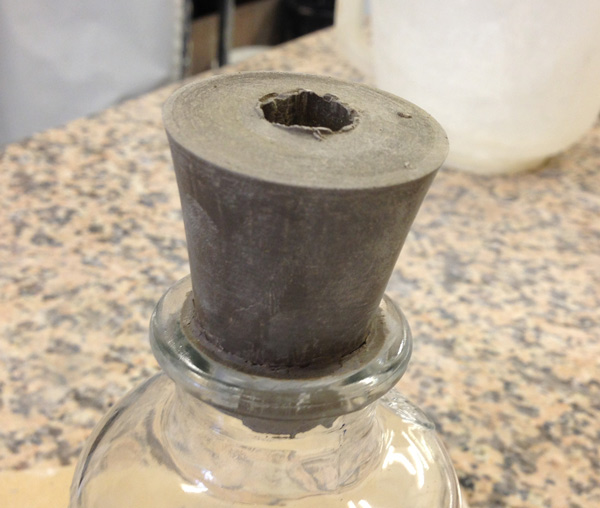
Because the bottle has an opening at the top we need a tapered stopper to make sure the plaster won’t go into the bottle. This stopper also automatically creates the hole through which we can pour in the liquid clay once the mould is ready.
There are different ways to create the stopper. One way to do it is to make a nicely round tapered shape by rolling soft clay between your hands. The advantage of this method is that you can squeeze it in a bit so it closes off the hole.
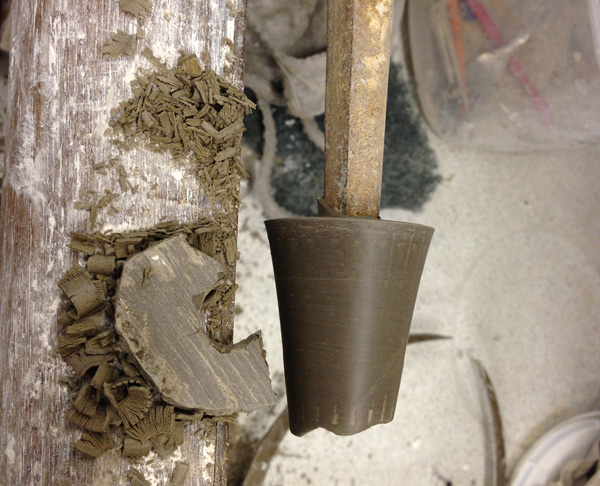
I choose to turn some leather dry clay (not completely dry but quite stiff) on the lathe machine to create the tapered stopper.
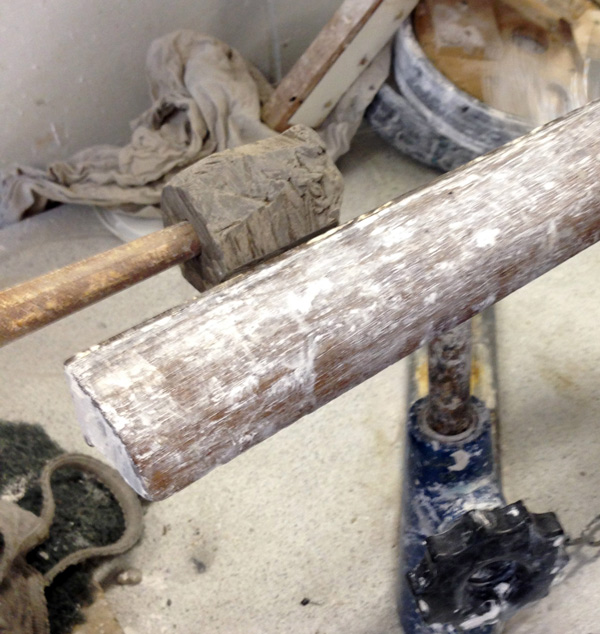
This is what it looks like:
After placing it into the top of the bottle you can fill the gaps with some soft clay.
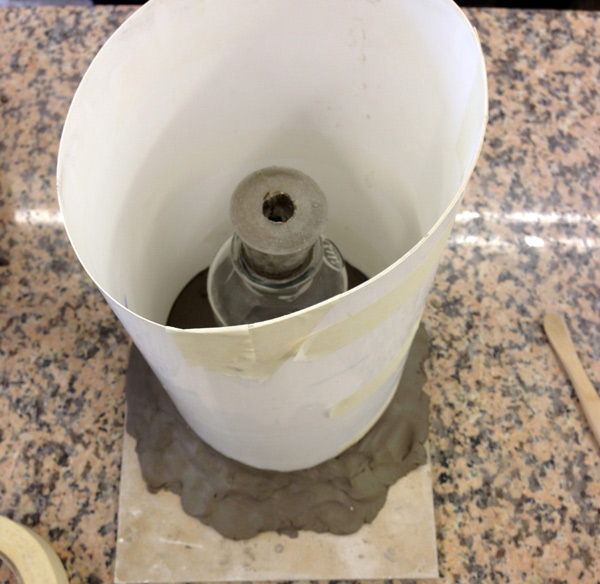
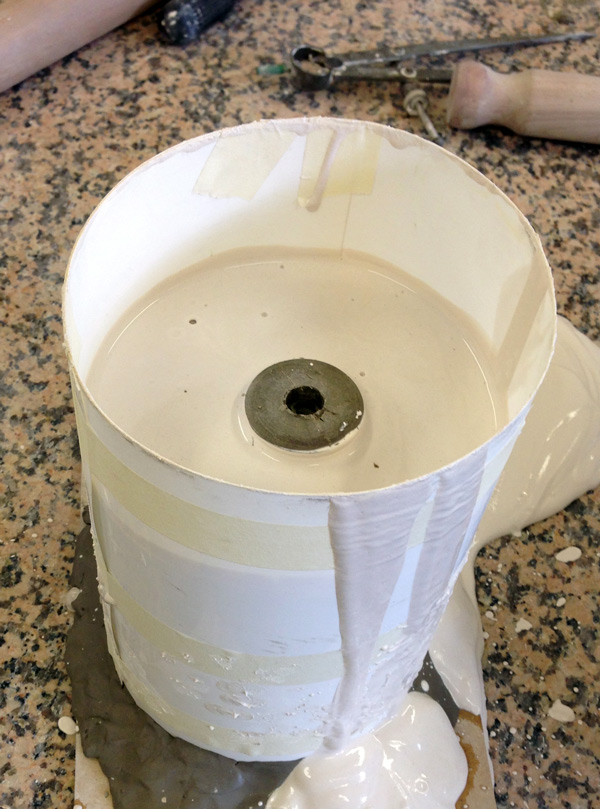
Once the top is filled I place a sheet of plastic firmly around the clay base and tape it. To make sure the plaster won’t run through the gaps at the bottom I make a nice thick layer of clay to close off any possible gaps.
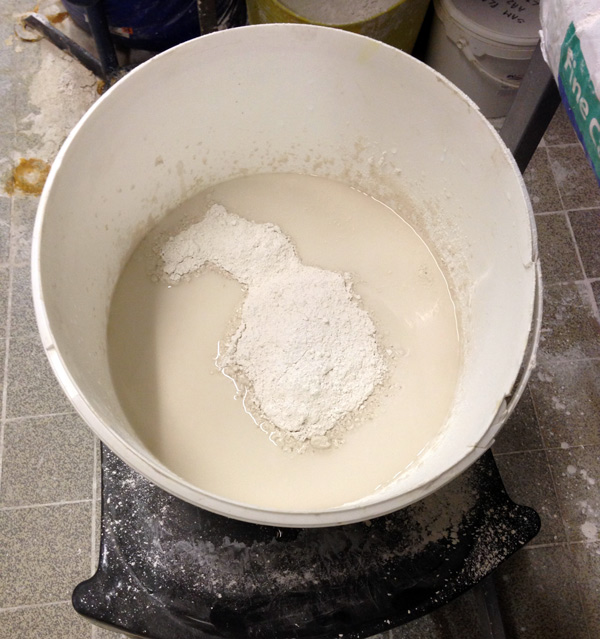
Then it’s time to mix plaster. I estimated I needed about 2 liters. You start by filling the bucket with water. Then you start adding the plaster until it creates a little island on top of the water. It’s important to add the plaster evenly over the water and let it run through your fingers to make sure there’s no big chunks in it. This whole process should be done fairly quickly as the plasters sets rather quickly. Let it rest for a about two minutes and then mix it quickly and thoroughly by moving your hands over the bottom and from the outside to the inside until you’re left with an even mix.
When the mix is ready pour it into the mould and let it rest for about half an hour.
When the plaster is hardened and warm it’s time to remove the plastic.
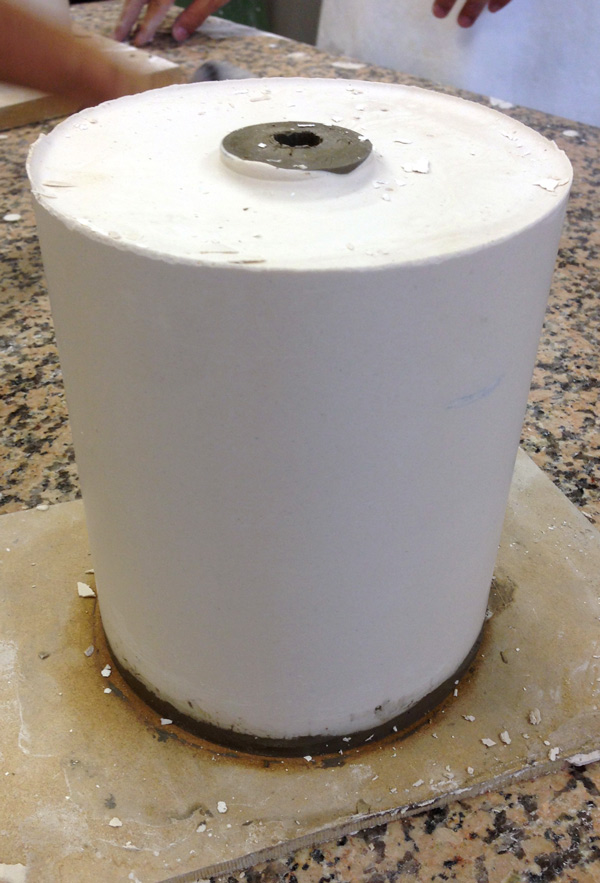
I then shave off the top a bit to create a nice even surface.
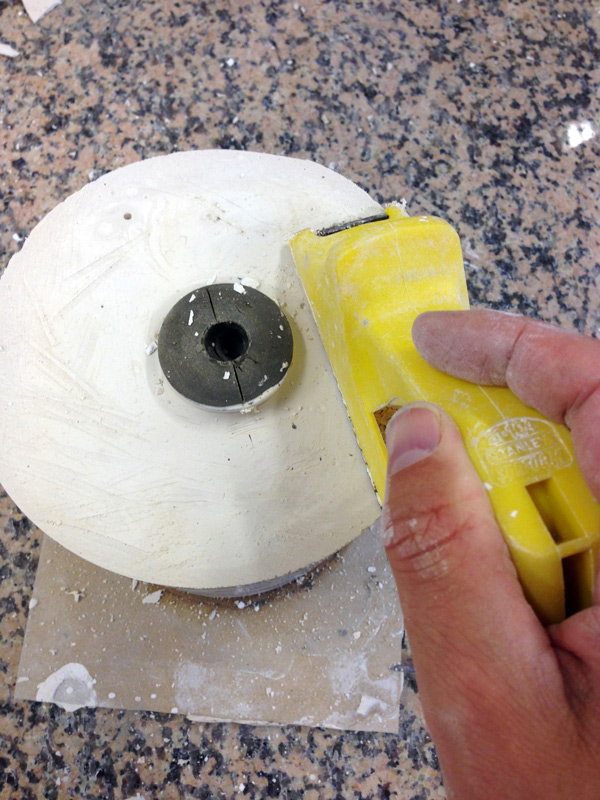
Then turn the whole thing upside down and remove the clay.

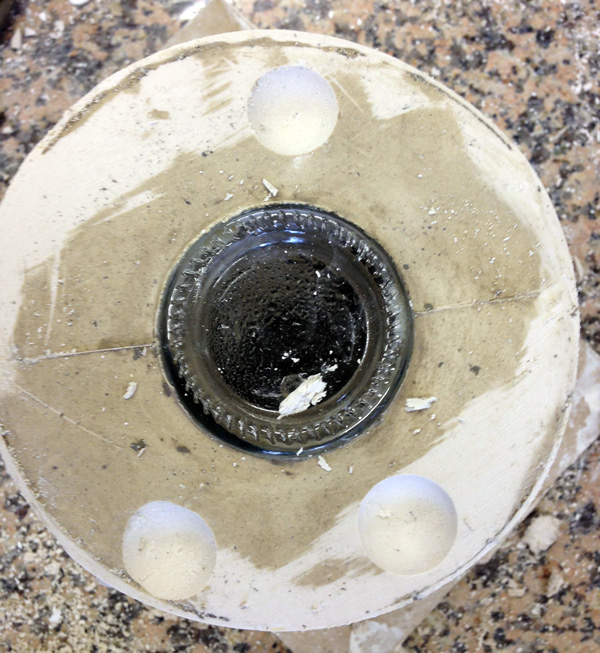
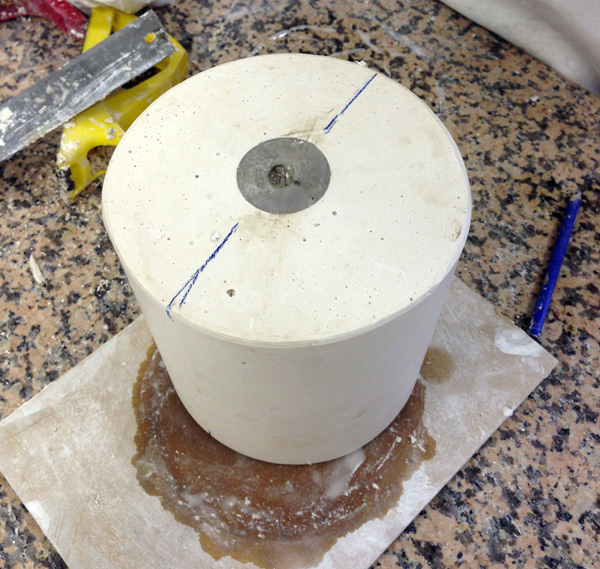
Now you’re left with the bottom of the bottle showing through the set plaster. Clean the surface again by shaving it off evenly (this is easiest when you shave in different directions) and clean the clay from the bottom of the object with a wet brush.
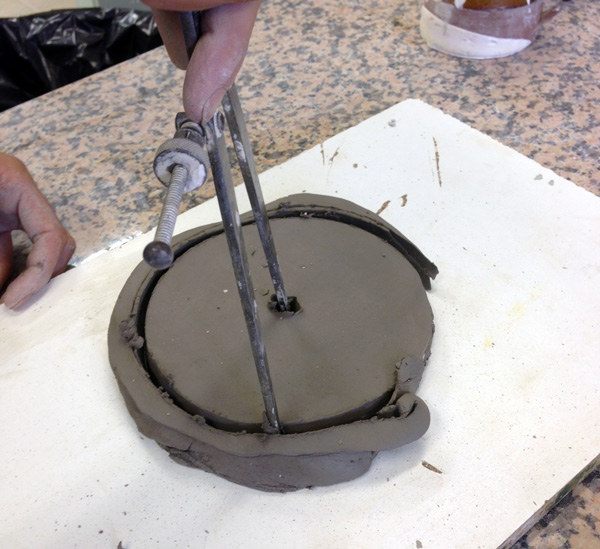
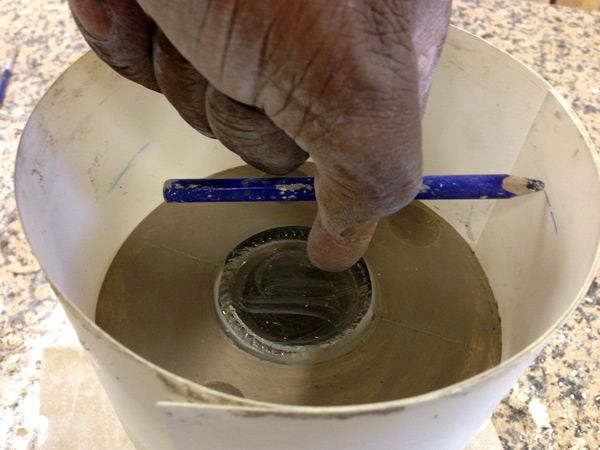
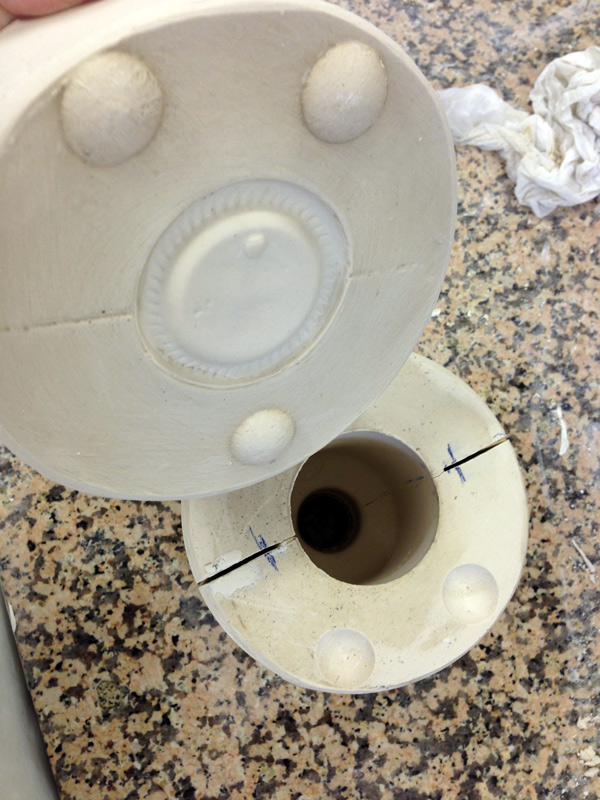
Then create holes with a coin. I used a coin attached to a hand drill but you can also do it by turning a coin around with your hand.
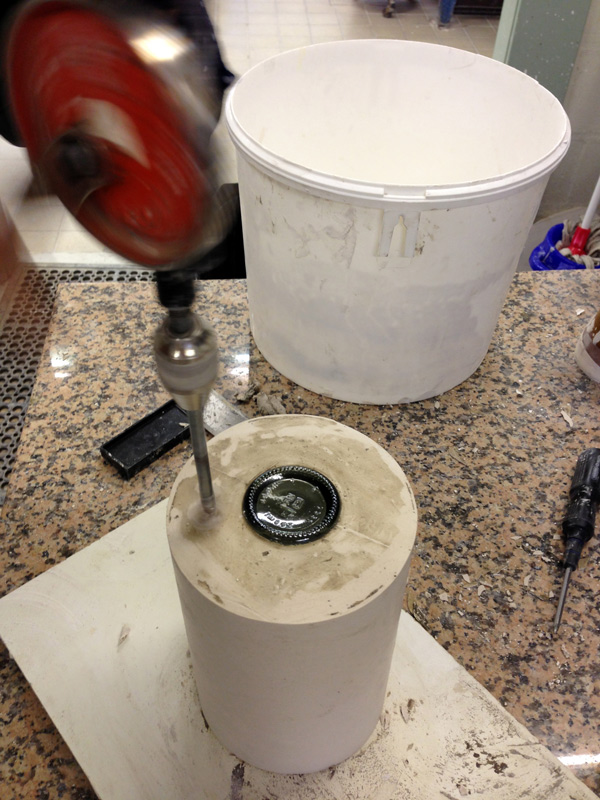
Make sure to put three holes in an uneven order so that it’s easy to re-essemble the mold afterwards.
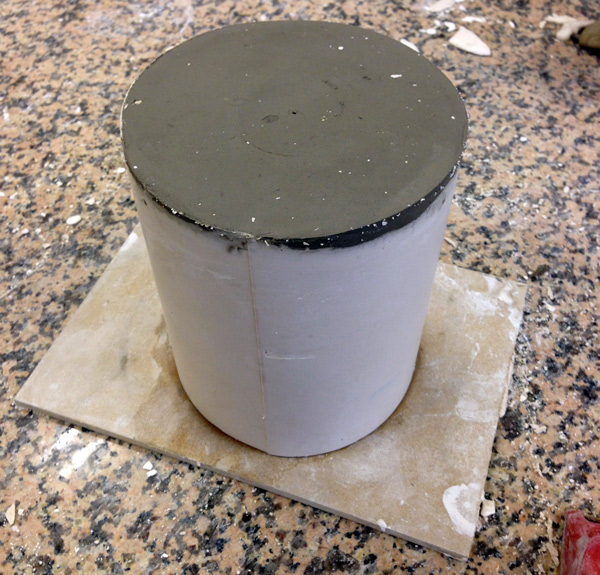
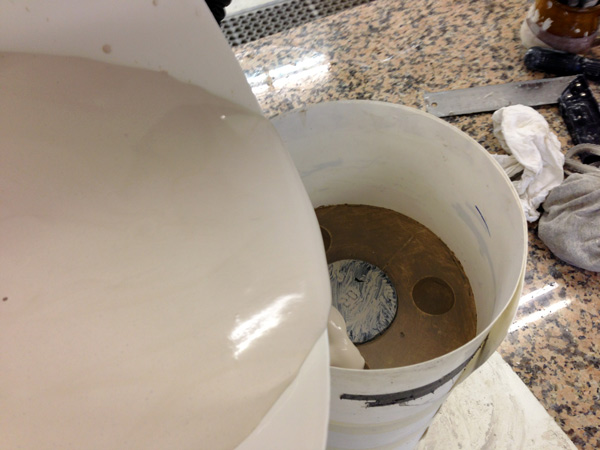
Then strike a mix of water and clay over the whole surface and the edge around it. This is to prevent that the plaster of the two mould parts will stick together.
Then put the plastic around the mould again (after cleaning it properly!).
Indicate the level of pouring by keeping the pencil horizontal around the top joint of your index finger.
Pour the plaster in.

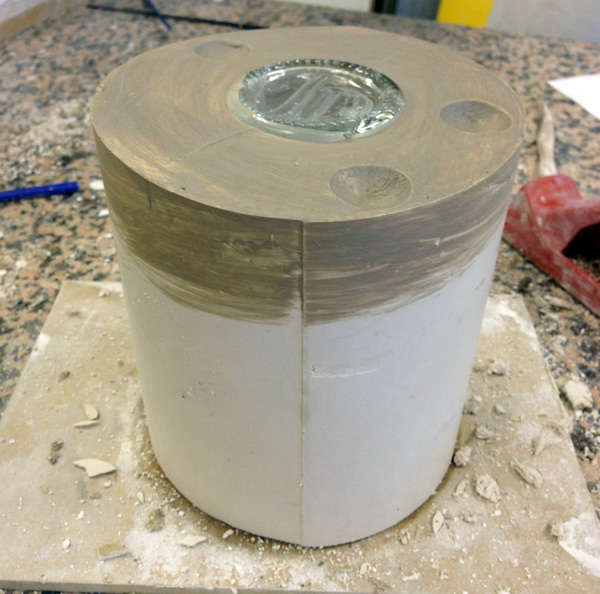
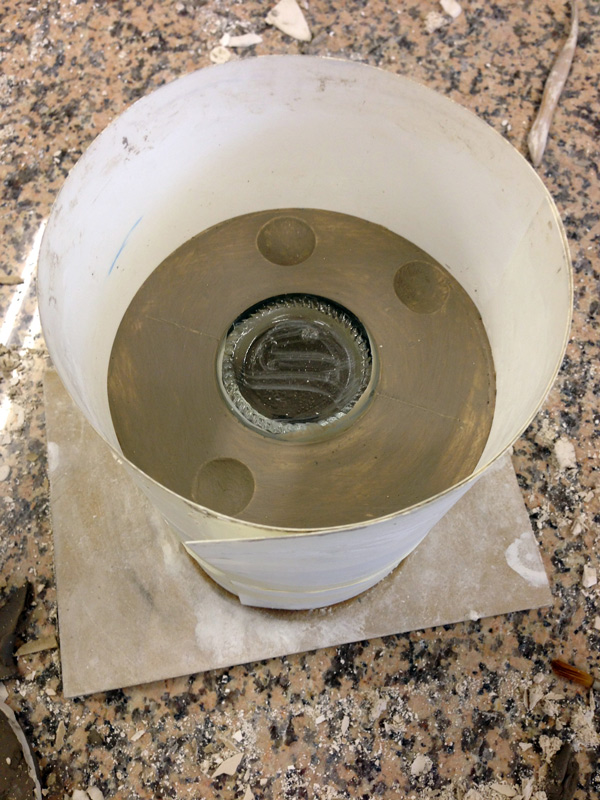
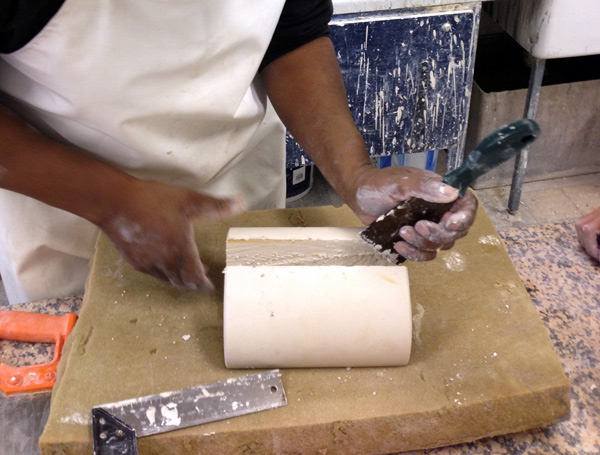
When the plaster is set after about half an hour you can release the plastic. Leave the mould for a few minutes under running hot water. This makes it easier to seperate the two parts. Then shave the edges to create a nice tidy chamfer and it will look somewhat like this:
Now it’s time to separate the two halves of the mould. Do this by extending the lines that are indicated in the beginning. Then use a hand saw and make a cut until about 1 cm from where you estimate to be your object to be.
When you have made the cuts on either side place some wigs into the cut and apply gentle force until it breaks into two.

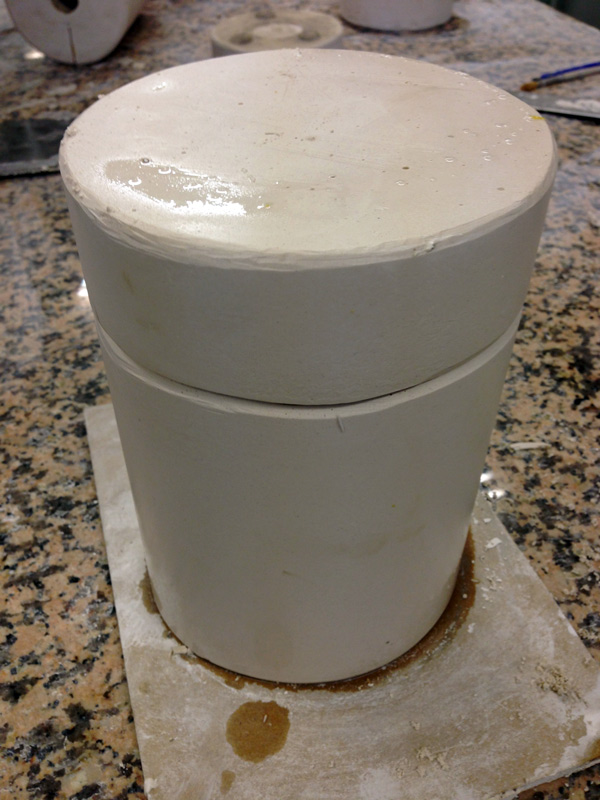
Now you’re left with three parts, looking somewhat like this:
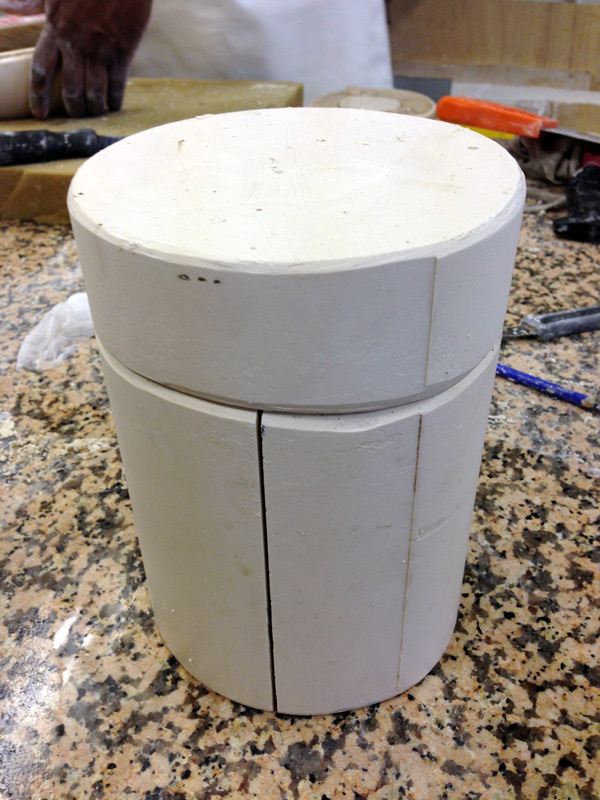
Here you can see clearly how the bottom part fits onto the other two perfectly.
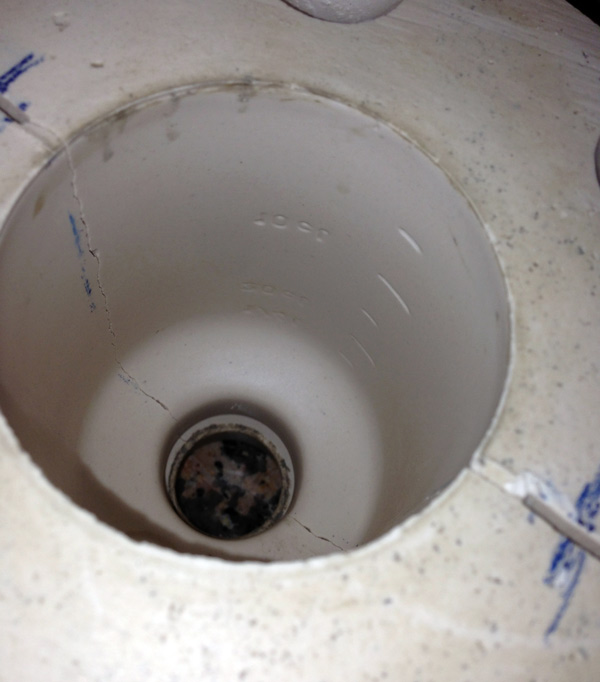
The final result shows all the beautiful details of the bottle. Now let the mould dry out for a few days. I use a drying cabin to speed up the process.
Next week I will cast my bottles so stay tuned for the result!

One thought on “Tutorial: step by step guide for making a mould for ceramic slip casting”